
The sliding door cables on the right door of our 2004 Toyota Sienna broke last winter, as seen in the image below, and I wanted to see if I could put off another repair and prolong the life of your Toyota sienna sliding door cables.
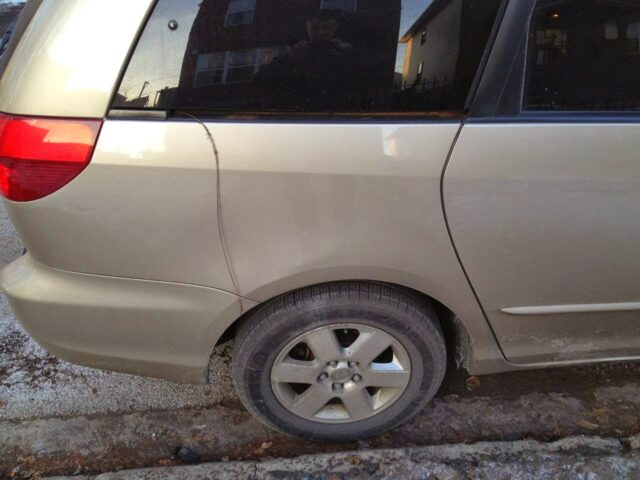 |
| Broken sliding door cable hanging from my van |
UPDATE: I must confess that I do not think that this tip prolonged the life of my cables. After a few months this sliding door cable frayed and I was forced to cut the cables off in order to get the door closed. On a positive side, I have now replaced both sliding door cables and have combined all the pictures and lessons I’ve learned into a step-by-step tutorial on how to do the repair yourself and you can view it here (the only step-by-step tutorial for this repair on the internet):
How to Prolong the Life of Your Toyota Sienna Sliding Door Cables
I looked into the cost of having a dealer do the repair and it is over $1,000. I purchased the part and repaired it myself. You can see my step-by-step instructions for the replacement of your sliding door cables here. I’d like to prevent or at least prolong the life of my existing cable. I believe this can be done by understanding the way the cables typically fail:
- the plastic shielding wears off the cable
- the wire cable rusts
- the cables begin to fray
- the cable snaps
Our left door has the plastic shielding worn off but the cable has not frayed and is still in tact and I’d like to keep it that way as long as possible. So, in order to hold back the rust, and therefore the failure of the cable, I’ve decided to oil the cable to give it some resistance to rust. I have some 3-in-1 oil that should work fine:
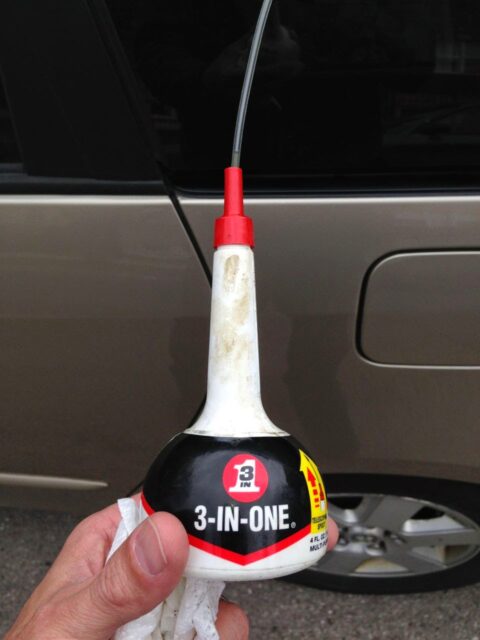 |
| Good old 3-In-One oil |
The cable lays tightly in the plastic channel below the rear window and is easily accessed as shown below:
 |
| Location of rear sliding door cable as it lays in the sliding door channel below the rear window |
I ran a drizzle of the oil all along the exposed braided cable so that the cable soaked up the oil, giving it some resistance to the elements:
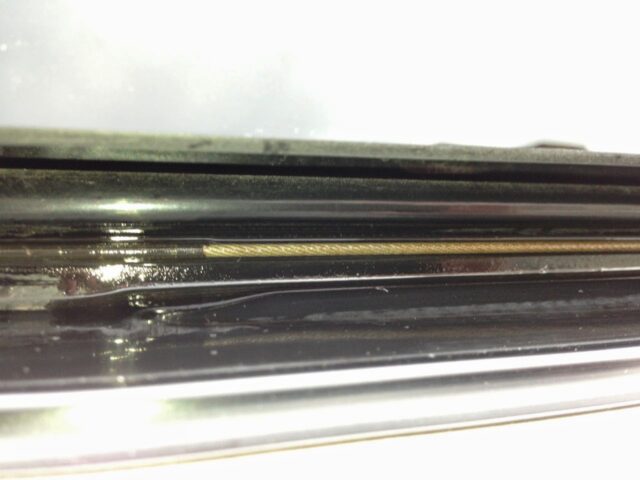 |
| Sliding door cable oiled to protect from rust |
You’ll want to wipe up any excess oil on the plastic. I’m going to keep an eye on it and add more oil after a month or so to keep the cable coated and see how many more miles we can get out of this cable 🙂 Why repair it if you can prolong its life?
Update June 16, 2014:
Well, the prolonging didn’t last long. I posted this about 2 months ago and this past weekend the cable frayed and the door would not shut anymore and I was forced to cut the cables. I guess I’ll be writing up another repair.
All My Toyota Sienna Posts:
- How to Change the Air Conditioner Display on a 2004 Toyota Sienna From Metric to English
- How to Replace the Front Struts on a FWD 2004 Toyota Sienna
- How to Change the Air Filter on a 2004 Toyota Sienna
- 2004 Toyota Sienna XLE DVD Entertainment System Does Not Display Video After Turning Vehicle Back On
- How to Fix Sienna Dome Lights Randomly Coming On And Alarm Going Off
- How to Replace the Rear Liftgate Shocks on a 2004 Toyota Sienna
- How to Change the Cabin Air Filter on a 2004 Toyota Sienna
- How to Program the Door Lock Transmitter on a 2003 Toyota Sienna
- How to Replace the Power Sliding Door Cables on a 2004-2007 Toyota Sienna XLE
- How to Prolong the Life of Your Toyota Sienna Sliding Door Cables
- How to Replace the Stereo on a 2004-2010 Toyota Sienna
- How to Fix The Spring on the Cassette Door on a 2004-2010 Toyota Sienna Stereo
- How to Program a Keyless Entry Remote for a 2004-2010 Toyota Sienna
- How to set the Time/Clock on a 2004-2010 Toyota Sienna
- Horn Won’t Work-How to Troubleshoot The Horn on a 2004-2007 Toyota Sienna
- How to Remove the Front Bumper on a 2004-2007 Toyota Sienna
- How to Replace the Starter on a 2004-2007 Toyota Sienna
- How to Replace the Thermostat on a 2004-2007 Toyota Sienna
- How to Replace the Radiator on a 2004-2007 Toyota Sienna
Amazon Associate Disclosure: As an Amazon Associate I earn from qualifying purchases. This means if you click on an affiliate link and purchase the item, I will receive an affiliate commission. The price of the item is the same whether it is an affiliate link or not. Regardless, I only recommend products or services I believe will add value to Share Your Repair readers. By using the affiliate links, you are helping support Share Your Repair, and I genuinely appreciate your support.

John,
You’re impressive! Hit it right on the head; my window was down and works just fine with the window up.
Also, wanted to tell you how much I appreciated your instructions on replacing the sliding door cable assembly. I’m in my 80’s and not very nimble anymore, but with your excellent instructions I was able to accomplish this rather complicated task with no problems. It took me quite a bit longer than some of your “clients.” Day and a half. 🙁 But I kept checking on my iPad a lot to make sure I didn’t make any huge mistakes. But now it works perfectly. Thanks again for your explicit instructions and photos. I would never have attempted this without them.
Ezra, your comment is one of my most favorite on this website ever! Thank you! Great job at repairing your van!
Right sliding door will not latch open. If I trip a small “lever” on the bottom assemly, it will latch open once and then same lever blocks it short of full open the next cycle. Any answers?
Thank you.
Ezra, when you were trying this was the sliding door window down? When the window is down it behaves exactly like you describe. I was very puzzled about it just like you until I took my door apart and saw the switch that was engaged when the window is down. It must be some safety feature.